Recently I came across some photos that I’ve taken while on a trip to Madagascar, most of them have good quality and
are color rich, less the ones made through the airplane porthole that looked washed out. Usually I would just delete all these photos, or keep them somewhere and almost never look at them again.
But now I’ve found a way to make these memories a bit more colory. Try these simple steps and enjoy your photos, you’ll see some details you never thought they were there in the first place.
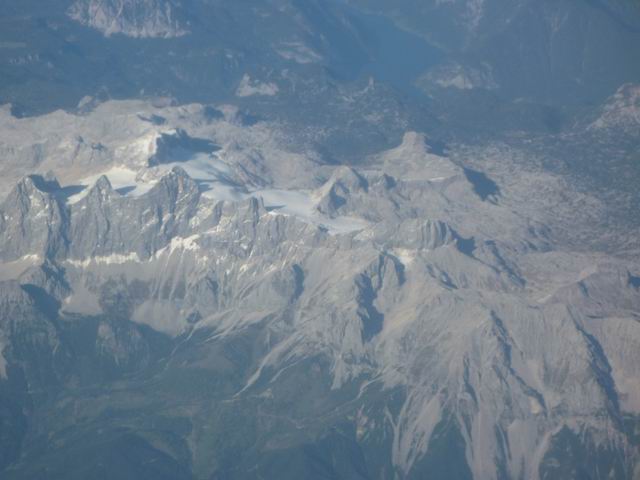
I’m going to edit a photo with the Austrian Alps. Here is my photo with before and after result:


See the short version in red if you want to make it quickly.
Step 1: Make a layer from the background then duplicate the layer to also keep the unmodified version of the picture.
Step 2: Select the layer then go to Layer->New Adjustment Layer->Levels and click ok. Usually these kind of images have a lack in white whites and black blacks. You need to drag the left slider to the right from where you can see that the data begins in the chart, and the right slider to the left to where the chart data ends. Adjust the midtones slider for the midtones in the image, looking at the image in the same time to get the desired effect. This step is the most important and will give the photo a real boost in color and contrast.

Step 3: Fix the colors, if there is a need. If you find that your photo has too much blue, as these usually happens you can reduce it. Go to Layer->New adjustment layer->Curves. Choose the color you want to modify from the drop down list, then adjust it by dragging the line to the left or to the right depending on the way you need to adjust by reducing or enhancing the tone. You can drag the line from the middle, or from any other place, it all depends on what works best for your image. I dragged it from the lower-left point of the line and reduced the blue. You can test to see what works best for your image as you can always drag it back, or delete the curves layer if needed. Go back to layers and check the result. As a matter of fact I always do this after any modification just to make sure that I used the right settings. UnCheck and check the layer to see if the modifications look ok.

Step 4: Fix uneven tonality. Usually pictures taken from the airplane have poor tonality in the upper part, also the light coming from up to down makes this poor tonality in the upper part. You can fix this by adding a gradient from black to transparent. Start with a new layer: Layer->New->Layer or ctrl+shift+N, select the gradient tool from the left pannel. Select black for the forground color from the pannel. Select the gradient type from the drop down list the second one: from black to transparent. Then drag a line from up to down while holding shift to make a straight line. From the blend modes choose the Color Burn mode for better effect. Go to layer and adjust the layer opacity to make it look even.

Step 5: boost the saturation, contrast, brightness. Go to Layer->New Adjustment Layer-> Hue/Saturation, give the image some saturation from Adjustments.

Go to Layer->New Adjustment Layer->Brightness/Contrast. Give a little boost brightness if needed and a little more in contrast.

Step 6: Final step: Give the picture a sharp effect. For this you need to make a composite layer by pressing ctrl+alt+shift+e then select the layer and go to Filter->Sharpen->Unsharp mask. Set the radius between 0.5 and 1 and the treshhold under 10.

Save the result with a different name then the original and notice the difference.
before and after result:
I’ve noticed that this method also works for other photos that look washed out, but with the ones taken from the airplane you will get the best results.
Here are some other tests including some pictures from a dense tropical rainforest and underwater: