

|
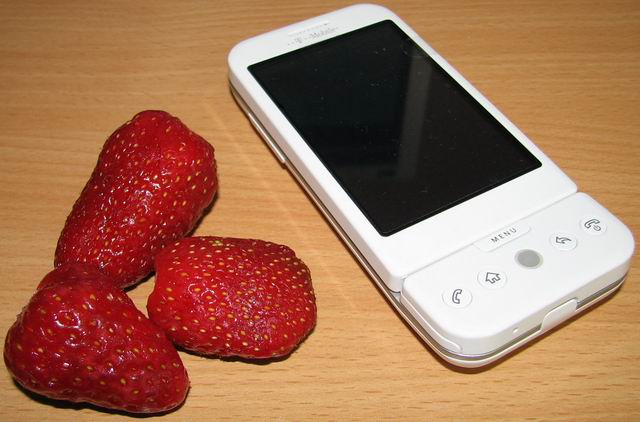
Android, the mobile platform developed by Google, offers a robust communicator with some exciting features. Taking Windows Mobile as a reference, the Android comes with some powerful new concepts: – smooth functionality – no more wait icons, the unit is quite fast – fingerfriendly everything, especially the Mobile browser is by far better then the WM PIE. Now I can actually USE the mobile internet browser – some google specific services like google maps, IM, and Gmail, easy to use as well – slim design, including a full keyboard – long battery life |
All in one, this finally is what a mobile companion should be like, meaning that it does what it’s advertised to do – thanks to the way the interface is organized, and the touchscreen, it allows easy and painless interaction with the device. Direct information interchange between the user and the device, taking advantage of the small size. No more need for a sharp stylus, and this is wow!
For this article, here are a few things I’d like to show:
– how to connect the Android to your Windows PC
– how to take screen captures from your Android
– how to install new software on your mobile device
1) First thing after you unbox your device, you need to download a set of tools provided by google.
These tools are for developers, and come as an SDK package, but anyone can install and use them.
So go to this link and click the latest version for the Windows SDK (at the time I wrote this, it was android-sdk-windows-1.5_r1.zip)
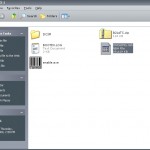
2) Once you got the file, unzip it to a local folder on your PC. You should have a folder like android-sdk-windows-1.5_r1.
3) Connect the Android to the PC using the USB cable. When notified that a new hardware has been detected, instruct Windows to look for drivers into the SDK folder: android-sdk-windows-1.5_r1/usb_driver/x86
If you have a micro SD card in your Android, it will appear as a new drive on your PC. Sweet.
Things you can do now: install new software, remove unwanted packages, get a shell on your Android (yes, it’s an embedded linux box), or take screen captures (useful for reviews).
So to take a screen capture of your Android, go to the SDK folder and enter Tools. Start ddms.bat .
This utility will allow you to perform various control tasks:

To take a screenshot, go to the Menu, click Device and select “Screen Capture” or directly hit Control+S. Here’s what you get:

You can save the file as a PNG image file, and you can also see that the screen has a resolution of 480×320.
To install new software, make sure you’re in the same Tools folder of the SDK package (using Total Commander), and type cmd and hit enter. You’ve just opened a command prompt. Make sure you know where the application installer is (the .apk file) then type:
adb install [APK_FILE_PATH]

And here is the installed software running on the Android G1:

|

|
In a similar way you can perform other commands:
adb devices should list the ID of the Android connected to your PC.
adb push [LOCAL_FILE_PATH] [REMOTE_FILE_PATH] will upload a file from the PC to the Android
adb pull [REMOTE_FILE_PATH] [LOCAL_FILE_PATH] downloads a file from the Android to the PC
adb shell a very neat command, actually opens a shell on your Android linux box:

To uninstall software from the Android you can use the device’s GUI:
Home->Settings->Applications->Manage Applications or directly the adb uninstall command.
Hope this helps for a start,
Radu Motisan
Pingback: PocketMagic » Developing for Google Android - update the OS version
I just found your site on bingand I’m really happy with what I found. Nice site with solid info. I’ll definitely be back. Thanks
Hey! I can’t wait for the new Android, but your blog doesn’t load on my Blackberry. Can you give me advice? Merci. luv Luis