Vasil gave me several of his tesla coils, including the GU-81m tesla coil presented here. Since putting everything together was not a real challenge, I decided to customize some of the builds and change little details just to learn something new. Thanks Vasil, this is a great gift!
Project summary:
2012-09-26, Introduction
2012-09-28, First test
2013-04-06, The wooden case
September 26, 2012
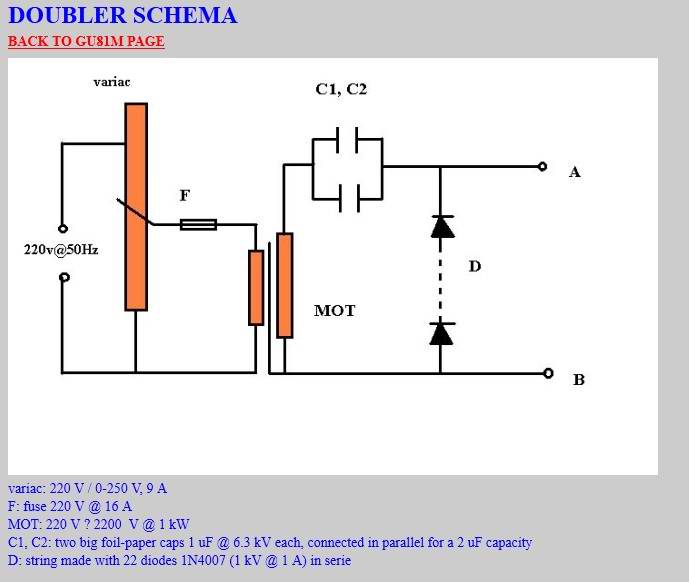
My first target is the GU-81M VTTC, which I’ll show in this article. Here is Vasil’s original circuit diagram:


I got all the precious components , including the tube, caps, a mot, diodes, even the primary and the secondary coils!

So here is what I did:
1. The secondary: The coil has been added a few extra turns, so I had to find a way to improve the insulation. I opted for epoxy, with some extra quantity added over the soldering:


2. Grid leakage resistor (R1) new PCB board – 20 x 27Ohm 10W resistors in series, for a total of 540Ohm:


3. Supply filter cap (C3) 6x polypropylene caps 6nF/1600V in series:

September 28, 2012
Got it ready for a first test. Unfortunately it didn’t work – yet . I probably made a mistake when connecting the feedback coil.


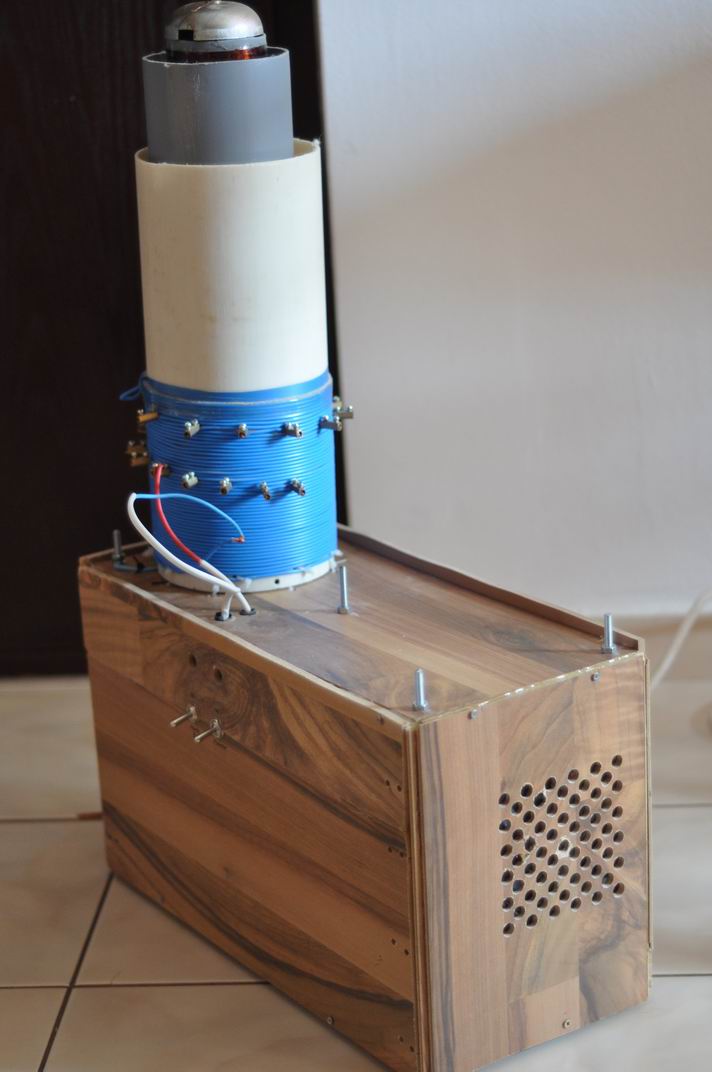
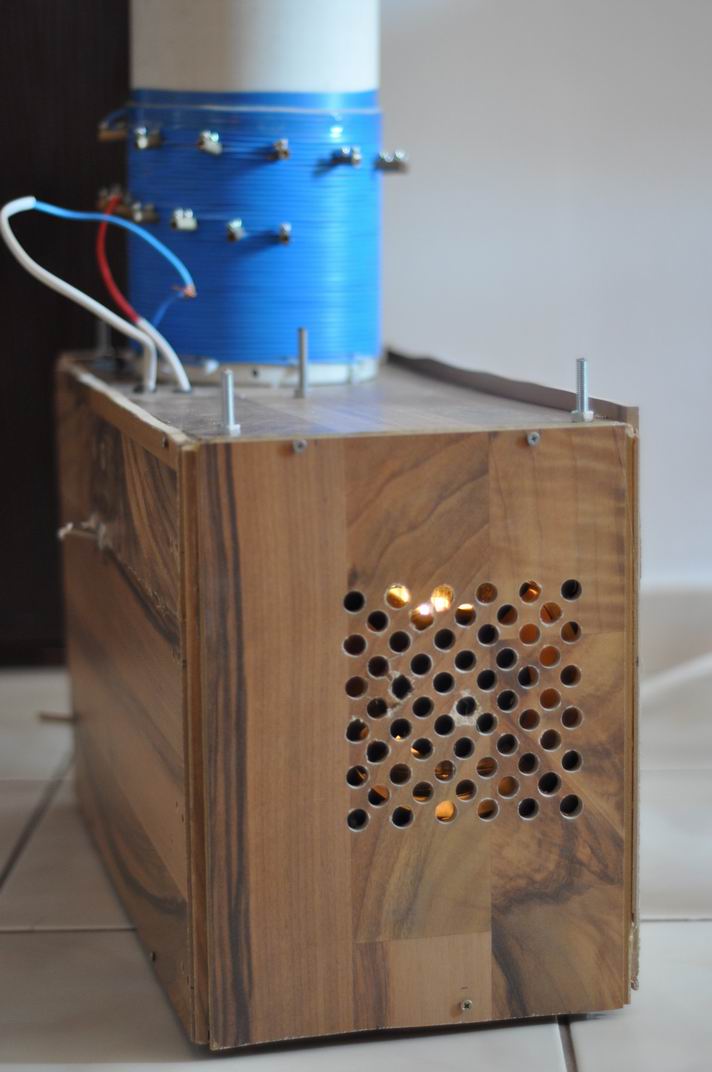
April 6, 2013
The wooden case is complete.