Introduction
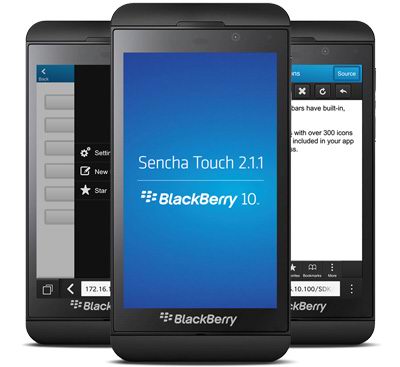 |
In a world dominated by Android and iOS, how hard is it for another mobile platform, be it one bearing the glory of the past, to reconquer the market shares it once had? It’s all about marketing, a bit of luck, but from my point of view (not generally applicable, see how iOS started), the technology involved – the actual value resulting from the time and effort invested in making something better. Blackberry has reinvented itself in a new, fierce competitor with its latest release, the Blackberry 10. The handsets running the new OS are impressive: huge 768 x 1280 pixel screens, 8Mega pixel camera (with geotagging and face detection), 2GB of Ram memory and a Dual-core 1.5 GHz Krait processor. A beast in terms of hardware capabilities but also a huge step forward. |
Installing the tools
The technology also refers to the software available, and the software dedicated to developers to make even more apps for the platform. Here I was surprised to find new changes, as compared to my previous experience with these devices.
Installing the new development tools is easy, it is a customized IDE based on Eclipse, the installer does everything, including requesting the code signing information (the developer account and all resources, including the signing keys are all free). To start, go here.
Once installed, you can go to File->New Project to start your own development work, or File->New->Example to pick one of the tens of samples available.

A simple hello World application
When starting a new Blackberry 10 project, the wizard gives us several choices:
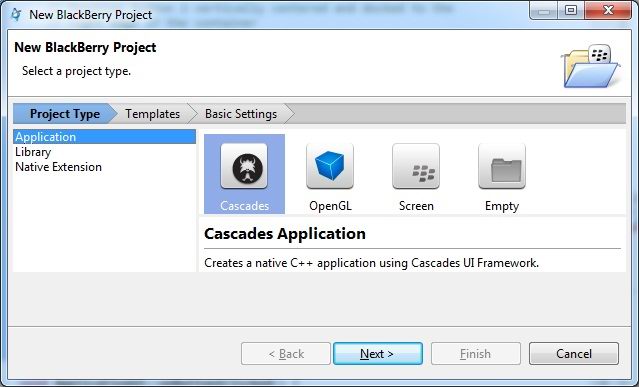
BlackBerry Native SDK provides APIs to access some of the low level/core functionality of the device, ranging from events, to screens, audio, sensors, network etc. Use the Native SDK when you need direct access to the hardware. The Cascades SDK is a UI toolkit built upon the Qt toolkit. It provides you with a common set of UI controls, with a common look and feel. A good choice for building User interfaces.
Cascades rely on a static QML file. My common practice is to build the interface dynamically: it can get more complicated at the cost of code readability, but it gives total control over the interface, during the runtime (conditional creation/deletion of various UI elements, eg.serial key field only if the software is not registered, etc). So instead of presenting a QML based Hello World interface, I’ll show you how to create the equivalent, using only C++ code.
ApplicationUI::ApplicationUI(bb::cascades::Application *app): QObject(app)
{
	// create root object for the UI
	Page *page = new Page();
	// set created root object as a scene
	app->setScene(page);


 	Container* pContainer = new Container();
	page->setContent(pContainer);

	// create top text field
	m_tf = new TextField();
	m_tf->setText("Status");
	pContainer->add(m_tf);

	// Position button 1 horizontally centered of the container
	Button* pButton1 = Button::create().text("Button1");
	pButton1->setHorizontalAlignment(HorizontalAlignment::Center);
	// catch click events
	connect(pButton1, SIGNAL(clicked()), this, SLOT(onButton1Clicked()));
	// add button to container
	pContainer->add( pButton1 );

	// Position button 2 horizontally centered of the container
	Button* pButton2 = Button::create().text("Button2");
	pButton2->setHorizontalAlignment(HorizontalAlignment::Center);
	connect(pButton2, SIGNAL(clicked()), this, SLOT(onButton2Clicked()));
	// add button to container
	pContainer->add( pButton2 );

	// create a text label
	QString labelText = "Hello World! www.pocketmagic.net";
	Label *label = new Label();
	label->setText(labelText);
	pContainer->add( label );

	// create an image view
	ImageView* imageView1 = new ImageView();
	imageView1->setImage(Image("asset:///logosymbol.png"));
	imageView1->setHorizontalAlignment(HorizontalAlignment::Center);
	pContainer->add( imageView1 );
}
The Slots for the two buttons, have to be defined in aplicationui.hpp as following:
public slots:
void onButton1Clicked();
void onButton2Clicked();
The debug function with output to Console in the Eclipse IDE, can be defined in main.cpp:
...
void myMessageOutput(QtMsgType type, const char* msg){
               fprintf(stdout, "%s\n", msg);
               fflush(stdout);
}

Q_DECL_EXPORT int main(int argc, char **argv)
{
    // this is where the server is started etc
    Application app(argc, argv);

    qInstallMsgHandler(myMessageOutput);
    ...
To set some of the button’s fields separately, you can also create it by using:
QString buttonText = "myText";
    Button *button2 = new Button();
    button2->setText(buttonText);
    button2->setImage(Image("asset:///image.png"));
Where image.png is a png image file, placed in your project’s assets folder.
Here is the result of running the program above, both on landscape and portrait:
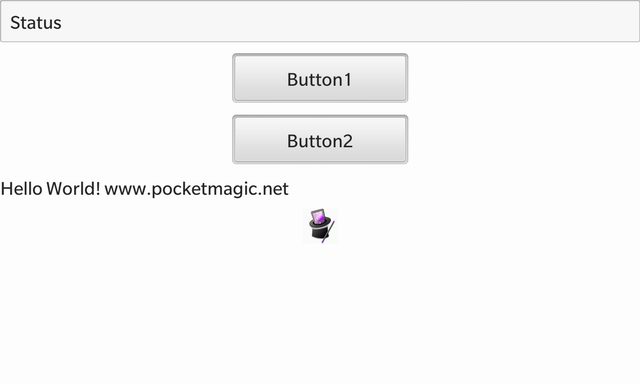
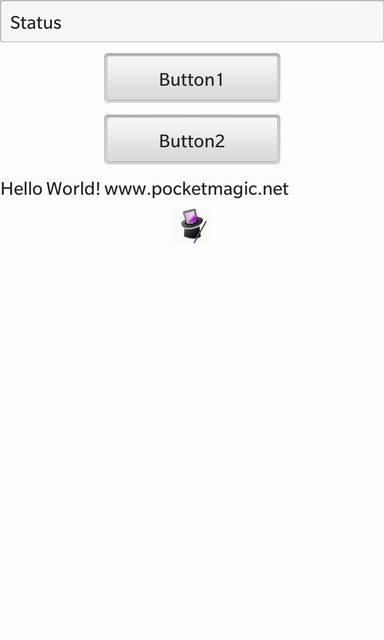
The code is available for download.
This article has 1 Comment