Introduction
 |
Years after the successful launch of Apple’s mobile platform , I accidentally got intersected with this technology. Here are some of my first impressions, and a short tutorial to get you started.
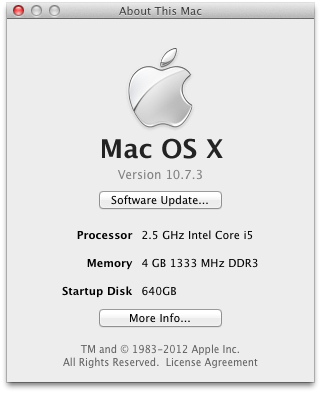
You will need: Logging in to the developer account, will give you access to the development tools. Currently available is Xcode 4.3.2 . It is a big download, close to 2GB, but it as a package with everything you need: IDE, SDK and Compiler. This version of Xcode brings the iOS SDK 5.1. |
Installing the tools
Setting up the tools is straight forward. You just double click the Xcode .dmg file, downloaded from your Developer Account, on Apple’s website, than drag the Xcode app to the Applications folder. Unlike the Windows world, this process is considered “Installation” on Mac OS.
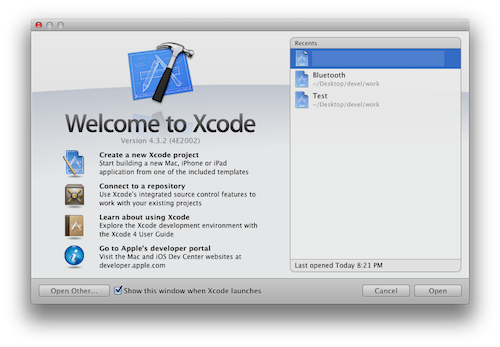
Select “Create a new Xcode project”, and start by using the built in wizard for your first application. Compile it and have it run on the Simulator.
To run it on an actual device, you’ll need to configure your certificates and a provisioning file for your mobile device. There are many good tutorials covering that topic, if you need help.
Hello world application
I want to keep it as simple as possible, so I select “Single View application”.
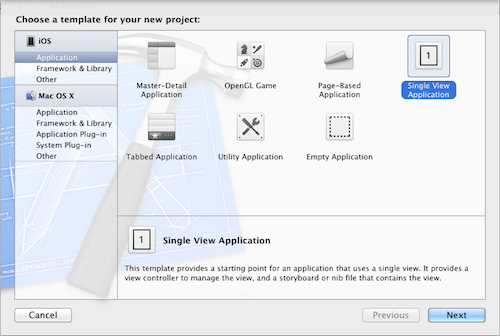
Pressing NEXT asks for some additional details, like Name, Package (company info) etc. Here is what I’ve used:
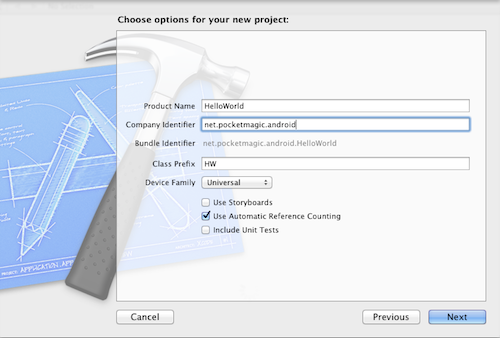
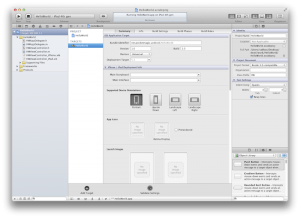
Click NEXT, choose where to save your project, and click Create. Your project template is ready, and you can even run it already!

Application architecture
Coming from the Windows Mobile / Android world, the first step was to establish a few logical links to my previous knowledge.
Looking at the left side of Xcode interface, also called Navigator, you can see the AppDelegate.m and .h and ViewController.m , .h and .xib . The AppDelegate is the entry point for this project, but for this simple Hello World app there is not much to do there. The other three files are responsible for creating your application’s “Single view”.
The .h is a Header file for declarations, the .m is the implementation file and the .xib is an visual interface builder file. You can use the IDE to add various controls such as buttons , lists or textfields.
Listviews in iOS
ListViews are an often used data organizer or display control. I will show you how to add a list view to the Hello World project we created above.
To populate this list, we’ll need to write some code!
step 1:
Open HWViewController.h . You see the following:
#import

@interface HWViewController : UIViewController

@end
Change it to:
#import

@interface HWViewController :  UIViewController  {
    // listview attached content array
	NSMutableArray *arrayItems;
}
@property (nonatomic, retain) NSMutableArray *arrayItems;
@property (retain, nonatomic) IBOutlet UITableView *myTableView;
@end
step 2:
Open HWViewController.m . Under
@implementation HWViewController
add the following
@synthesize arrayItems, myTableView;

// build one listview cell
- (UITableViewCell *)tableView:(UITableView *)tableView cellForRowAtIndexPath:(NSIndexPath *)indexPath {
    static NSString *CellIdentifier = @"Cell";
    UITableViewCell *cell = [tableView dequeueReusableCellWithIdentifier:CellIdentifier];
    if (cell == nil) {
        cell = [[UITableViewCell alloc] initWithStyle:UITableViewCellStyleDefault reuseIdentifier:CellIdentifier];
    }


    cell.textLabel.text = [arrayItems objectAtIndex:indexPath.row];

    return cell;
}

- (NSInteger)tableView:(UITableView *)tableView numberOfRowsInSection:(NSInteger)section {
    return [arrayItems count];
}

- (void)tableView:(UITableView *)tableView didSelectRowAtIndexPath:(NSIndexPath *)indexPath {
    NSString *item = (NSString *)[arrayItems objectAtIndex:indexPath.row];
    UIAlertView *Alert = [[UIAlertView alloc]
                          initWithTitle:@
                          "Hello!" message:item delegate:nil cancelButtonTitle:@"OK" otherButtonTitles:nil];
    [Alert show];
}

- (void)viewDidLoad
{
    [super viewDidLoad];
	// Do any additional setup after loading the view, typically from a nib.
    NSMutableArray *array = [[NSMutableArray alloc] initWithObjects:@"Radu Motisan",@"Pocketmagic.net", nil];
    self.arrayItems = array;
}
step 3:
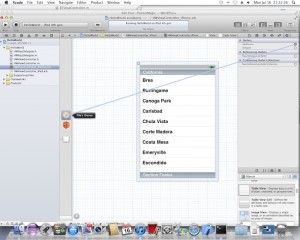
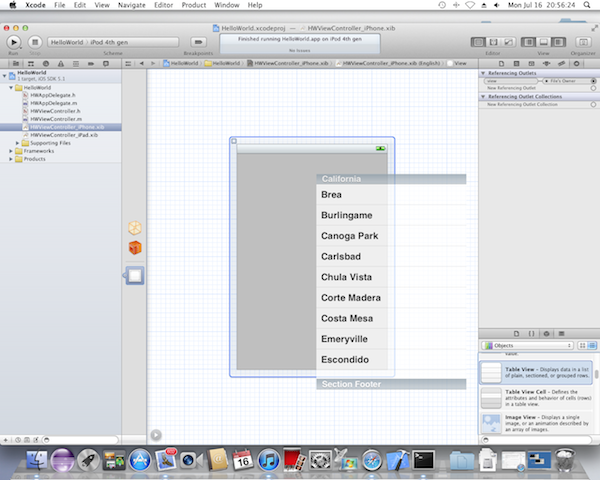
Open HWViewController_iPhone.xib, and click to select the list view. To the right, in the Utilities panel, press the “Connections Inspector” button (last arrow symbol). Under outlets, you’ll see “dataSource” and “delegate”.
Hold down the Control key, click on the circle at right of “dataSource” , and drag the line over “File’s Owner”. Do the same for “delegate”:
step 4:
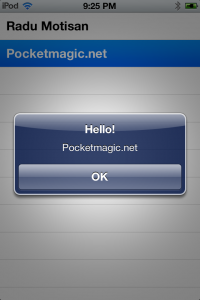
Compile and RUN the program. You’ll get a list view with two lines, clicking any item shows a message box, with the item content:


This article has 2 Comments